Showing posts with label charity. Show all posts

Monday, September 2, 2019

Streamliner Pouches

I was looking for a simple zippy bag to make as pencil pouches for Operation Christmas Child when I came across the streamline pouch by Elnora. She has a free downloadable pdf pattern which includes a a neat trick with the zipper installation that avoids the little indentations you can sometimes get at each end of the zipper. These pouches can open completely from end to end, so you can fit even the longest pencil in with room to spare.
I made mine with solid scraps. Because I sewed quilt-as-you-go style onto batting, there was no need to use interfacing - perfect when you don't have any at home.

Saturday, August 31, 2019

Patchwork and Pillowcase Drive

I pulled some bright, fun prints from my stash to make a few pillowcases. I used the pattern from School of Sewing which I have used before and know holds up beautifully in many washes because it uses french seams. I especially love the burrito method of attaching the cuff (I would never have thought of that on my own in a million years, but it works!). You just need 1 yard (or 3/4 yard and 1/4 yard if you want the cuff to be different from the larger portion of the pillow) and a 2 inch strip x WOF to make each pillowcase.
I know so many of us are concerned about the plight of new immigrants and asylum seekers, particularly at our southern border. Especially heartbreaking are the conditions facing children and families. One organization, the Socorro Foundation, is working to assist families who have been released from detention and are awaiting hearings. Sarah Hunter of LazyCozyQuilts has organized a drive for baby quilts and pillowcases (you can find the specifics here). Each child Socorro serves will receive a pillowcase to keep. It's a small thing to contribute, but I think no act of love or compassion goes unseen.

Wednesday, December 19, 2018

Placemats for Meals on Wheels

At Thanksgiving I finished up the final placemat for my charity sewing project for 2018. This paper pieced pumpkins block is a free pattern in my Craftsy shop, by the way. The block had been sitting around for quite a while, so I added some cute flying geese to round it out to placemat size and quilted it simply with straight lines.

Today I rolled up all my placemats (made from leftover blocks, improv panels, and binding scraps), tied them with candy canes, and dropped them off at my local branch of Meals on Wheels to be given to home bound seniors with a holiday meal. I hope they make the recipients feel special. I didn't meet my personal goal as far as the number I hoped to make, but there's always next year, right?

Friday, November 9, 2018

Ketchikan Throw Quilt in Jacquie's Favorite Bundle of Painter's Palette Solids


I am excited to share the quilt I made with Jacquie's Favorites bundle of Painter's Palette Solids from Paint Brush Studio. This post corresponds to a giveaway this weekend over on my Instagram account, so head over if you'd like to enter for a chance to win a kit.

This was my first time working with Painter's Palette fabrics. These solids are so soft without being thin. The weight is just perfect for quilting.

Some of you may recognize this throw quilt as my Ketchikan Quilt pattern. Isn't it cheerful in this rainbow of colors? I used just a few blocks from the pattern and arranged them in a new way to make a smaller version of the quilt.

I chose the darkest blue from the bundle as my background. It is called Marine.


Jacquie Gering designed and made this modern Whirlygig quilt with her bundle. A free pattern can be found for it on Painter Brush Studio's website.
The giveaway for the Whirlygig quilt kit is open until Sunday evening, so be sure to enter in time or stop by Teresa's instagram page next Friday for another chance to win a kit.

Friday, August 10, 2018

Finishing a Comfort Quilt

In my previous post I covered the first steps to take to make a memory quilt. Once you're ready to create the quilt, keep a few things in mind. First, remember that the fabrics are what makes the quilt special, so pick a design that makes them the star. Using large blocks is a good strategy for creating both a fast finish and a design that allows the fabrics to be the main feature. The blocks I created are about 26 inches square, so just nine blocks makes a good sized throw quilt.
Two, with the purpose of the quilt in mind, add to the comfort factor with both the backing and the quilting style. Select a cozy backing fabric. I picked a soft flannel. You may want to quilt minimally to maintain a soft drape to the quilt, as I did. As a bonus, simple straight line quilting about every two inches is also quick to do.
Consider the feature fabrics as your select the finishing touch of the binding. Often the clothing scraps will not be large enough for binding strips, so choose a complimentary fabric. I think this mini check blends well with the other shirting fabrics.
I hope the quilt will bring up a lot of fond memories and offer some tangible comfort.
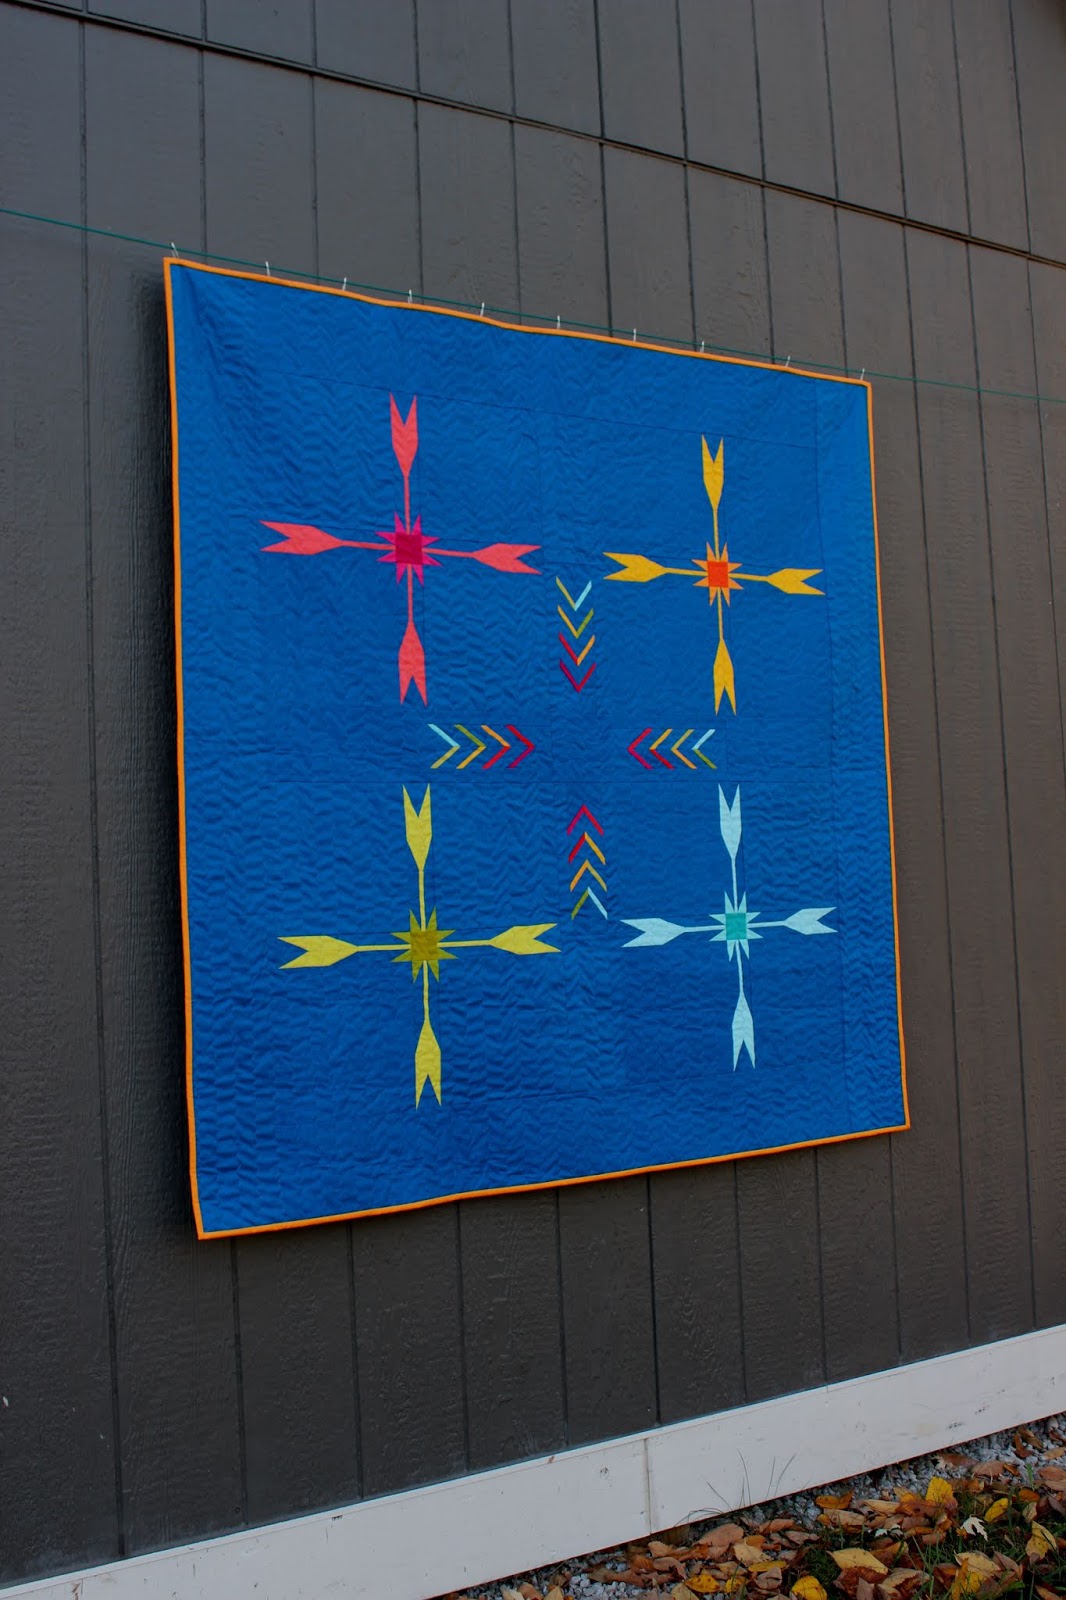
My quilt design was inspired by this fabulous quilt by Shea. Although I was unable to find the block name or a pattern, it only required some simple quilt math. I have saved you the trouble if you want to follow the instructions below.

For each block you will need:
(4) 8 1/2 squares fabric A
(1) 8 1/2 square fabric B
(1) 12 5/8 square fabric C cut twice diagonally into (4) triangles
(2) 6 5/8 squares fabric C cut once diagonally into (4) triangles

Cutting the triangles from the squares as directed rather than individually means there will be no bias edges on the outside edge of the block. Best!