Showing posts with label throw quilt. Show all posts

Friday, May 22, 2020

Solids Chevron Quilt

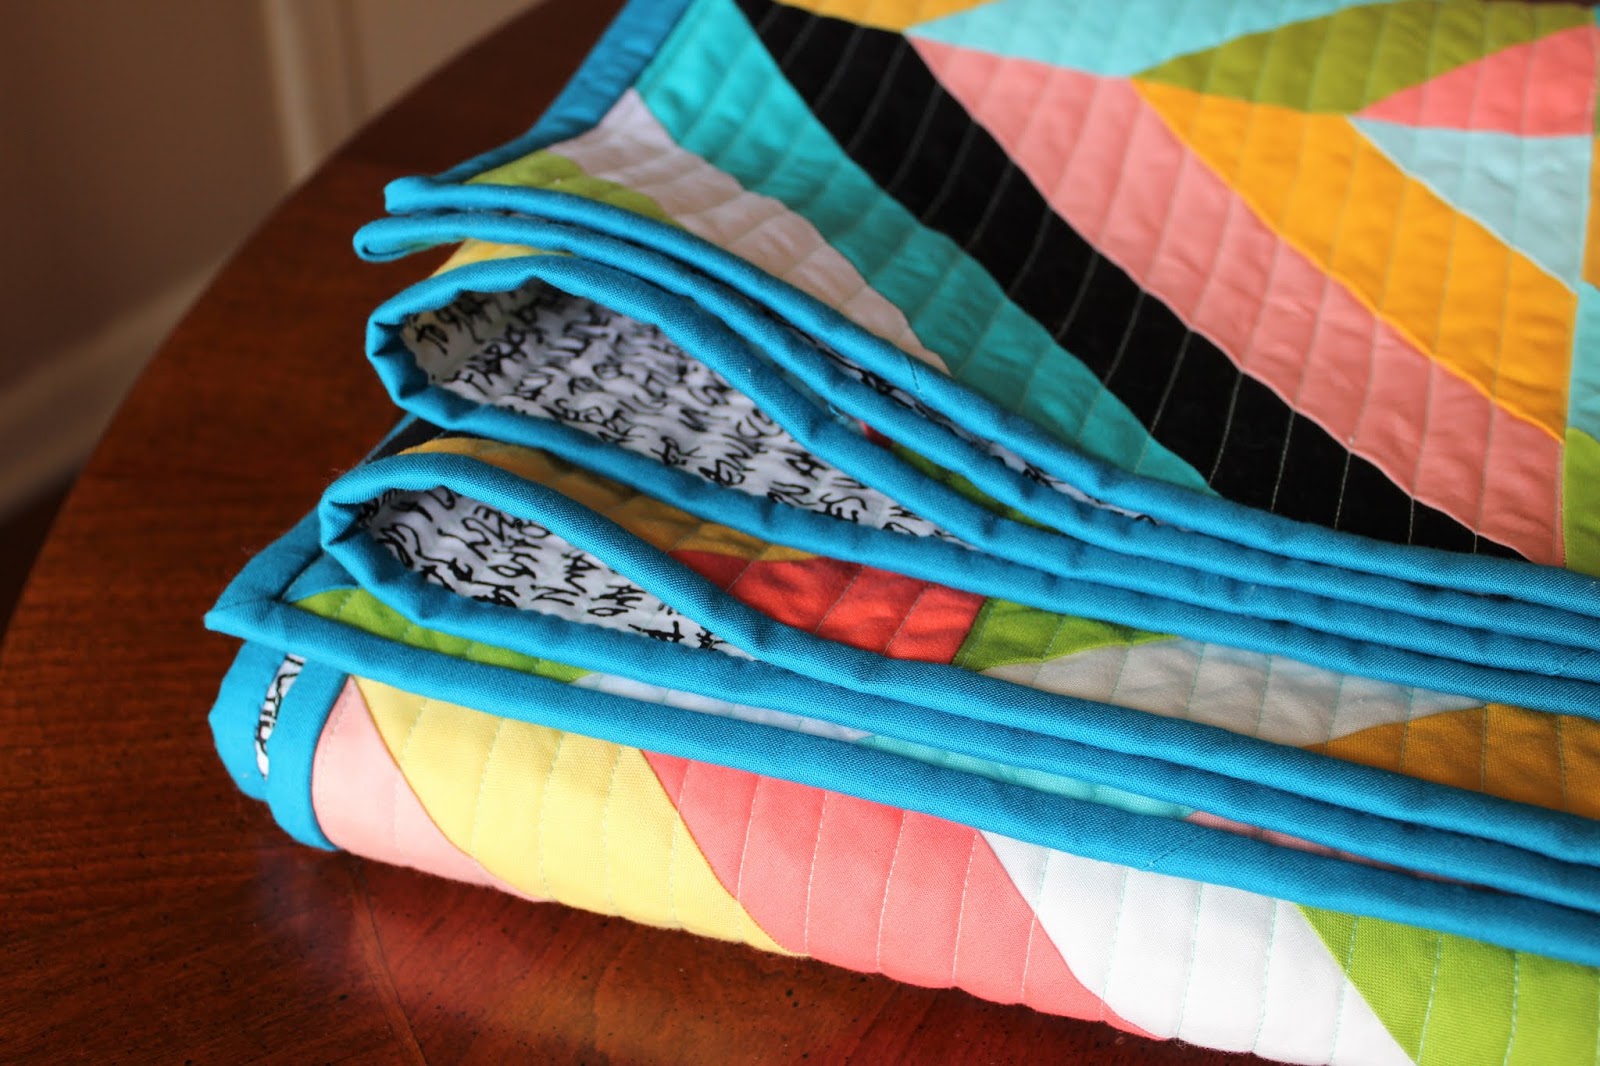
The colors in this throw-sized (54 x 65) quilt make me happy, and we all need some of that feeling right now. I also love how a quilt, made entirely of solids, turns into a quilt that reads like a print. To make the chevrons I used a paper template created by Molly of applecydermill for each block. Removing the papers was a pain, but the crisp neatness of the design is worth it, I think.

The Carolyn Friedlander black and white text backing is a nice contrast to the bold, colorful top. I chose my favorite turquoise solid for the binding. It is just the best color.


I used straight-line, horizontal quilting, spaced about every 1/2" in a pale aqua  50W Aurifil thread. It was a spool I happened to have on hand, and I was surprised at how nicely the color blended with the fabrics on the top. It even harmonizes with the back. Quilting this densely makes the quilt more durable, and I think the texture it adds is a huge pay off. This bright, modern quilt is in my etsy shop. 

Amazing to think this beauty started its life as a pile of scraps I just wanted to use up!

Friday, November 9, 2018

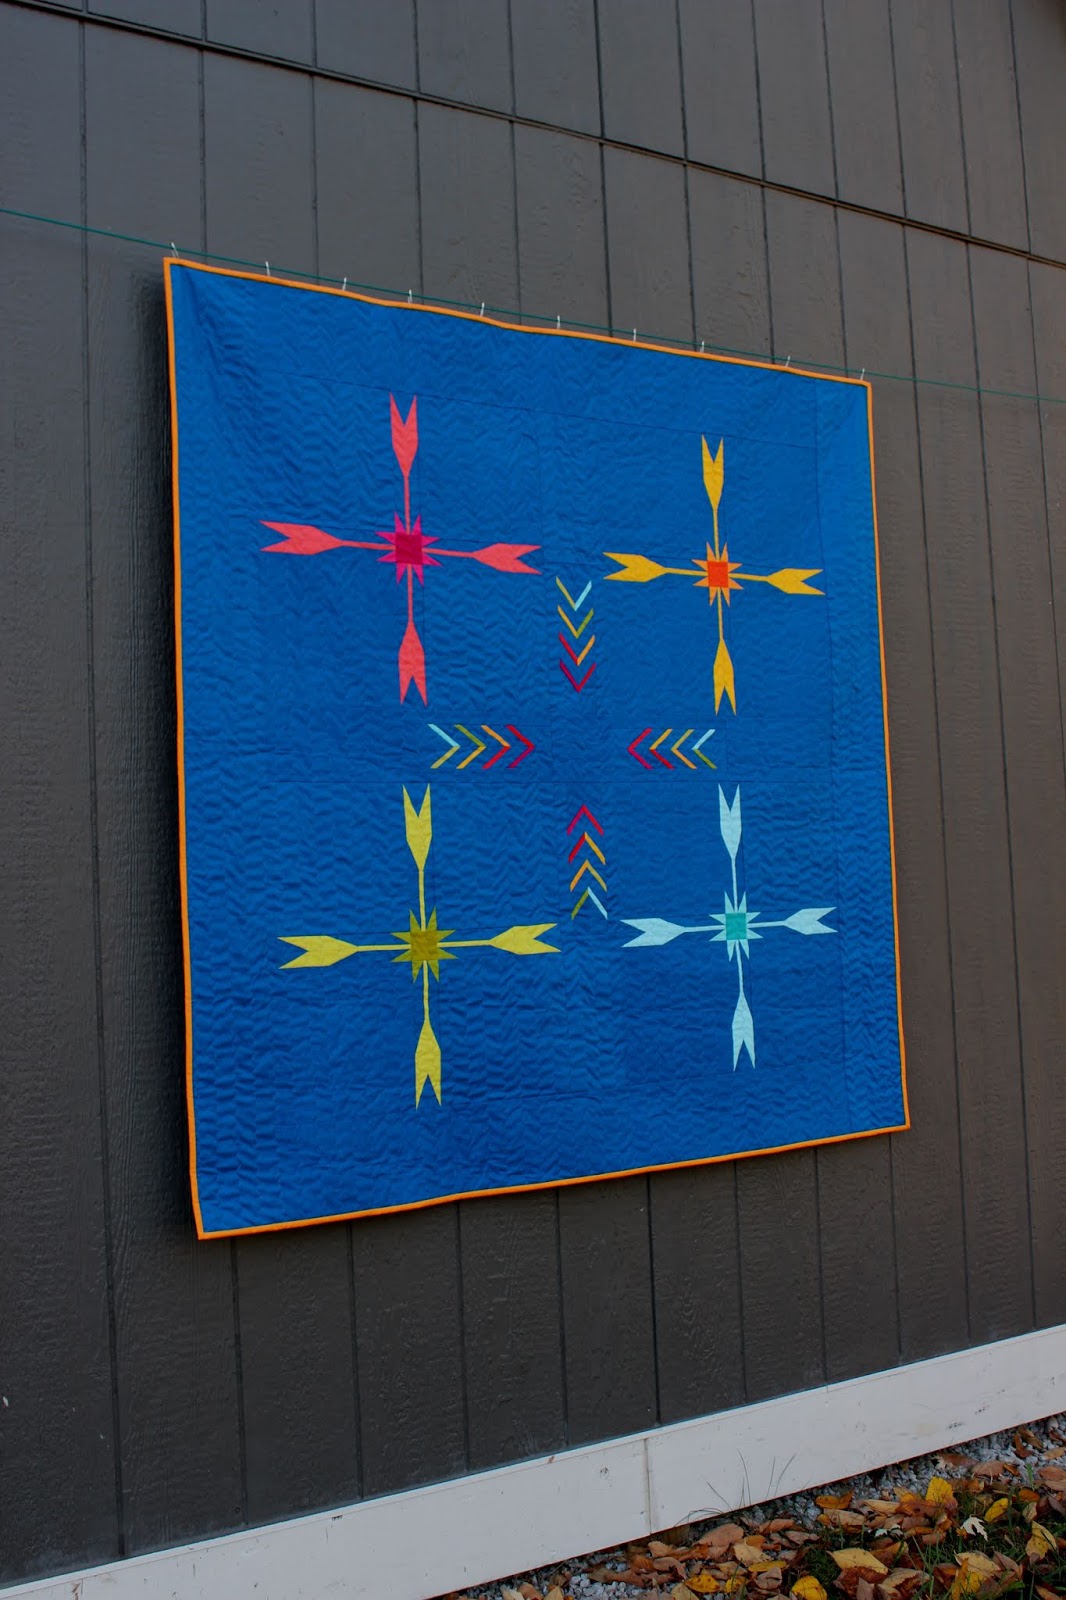
Ketchikan Throw Quilt in Jacquie's Favorite Bundle of Painter's Palette Solids


I am excited to share the quilt I made with Jacquie's Favorites bundle of Painter's Palette Solids from Paint Brush Studio. This post corresponds to a giveaway this weekend over on my Instagram account, so head over if you'd like to enter for a chance to win a kit.

This was my first time working with Painter's Palette fabrics. These solids are so soft without being thin. The weight is just perfect for quilting.

Some of you may recognize this throw quilt as my Ketchikan Quilt pattern. Isn't it cheerful in this rainbow of colors? I used just a few blocks from the pattern and arranged them in a new way to make a smaller version of the quilt.

I chose the darkest blue from the bundle as my background. It is called Marine.


Jacquie Gering designed and made this modern Whirlygig quilt with her bundle. A free pattern can be found for it on Painter Brush Studio's website.
The giveaway for the Whirlygig quilt kit is open until Sunday evening, so be sure to enter in time or stop by Teresa's instagram page next Friday for another chance to win a kit.

Friday, August 10, 2018

Finishing a Comfort Quilt

In my previous post I covered the first steps to take to make a memory quilt. Once you're ready to create the quilt, keep a few things in mind. First, remember that the fabrics are what makes the quilt special, so pick a design that makes them the star. Using large blocks is a good strategy for creating both a fast finish and a design that allows the fabrics to be the main feature. The blocks I created are about 26 inches square, so just nine blocks makes a good sized throw quilt.
Two, with the purpose of the quilt in mind, add to the comfort factor with both the backing and the quilting style. Select a cozy backing fabric. I picked a soft flannel. You may want to quilt minimally to maintain a soft drape to the quilt, as I did. As a bonus, simple straight line quilting about every two inches is also quick to do.
Consider the feature fabrics as your select the finishing touch of the binding. Often the clothing scraps will not be large enough for binding strips, so choose a complimentary fabric. I think this mini check blends well with the other shirting fabrics.
I hope the quilt will bring up a lot of fond memories and offer some tangible comfort.
My quilt design was inspired by this fabulous quilt by Shea. Although I was unable to find the block name or a pattern, it only required some simple quilt math. I have saved you the trouble if you want to follow the instructions below.

For each block you will need:
(4) 8 1/2 squares fabric A
(1) 8 1/2 square fabric B
(1) 12 5/8 square fabric C cut twice diagonally into (4) triangles
(2) 6 5/8 squares fabric C cut once diagonally into (4) triangles

Cutting the triangles from the squares as directed rather than individually means there will be no bias edges on the outside edge of the block. Best!