Tuesday, June 30, 2020

Modern Strata Quilted Pillow

I used the leftover bits from my scrap solids quilt to create this cheerful, improv pillow (do scraps ever really get completely used up?). This random looking piecing is called strata, and I give detailed instructions on the technique  in a section of my book, Improvising Tradition. I never really noticed, but until now all my strata has been monochromatic. The riot of color from the multicolored scraps has a very different feel, but I think it works in small doses.
 

The quilting is an easy free motion swirl that creates such a fun, contrasting texture to the geometric piecing.


For a nice plump pillow, the cover finishes at 19 x 19 inches to be filled with a 20 inch pillow form. The pillow backing is fully interfaced and closed with my favorite finish for quilted pillows - the lapped zipper.


This happy little number is available in my etsy shop.

Tuesday, June 9, 2020

Shibori Face Masks

As promised, these are the masks I made with some of this week's shibori indigo dyed fabric. Are they cooler than plain masks? Maybe. Will they mark me as a textile nerd to others of that ilk? Definitely.

I've sewn over 50 masks in the past couple of months for friends and family (as well as some to donate). These are made from my favorite pattern, a free one by crafty passion. They are quick to sew, wash well, and have a versatile fit. The elastic can be made as two strips to wear around the ears or in a continuous piece to go around the head. I knotted the elastic so it is easy to adjust or replace.

Stay safe!

Monday, June 8, 2020

Shibori Fabric Dyeing

I was privileged to take a shibori indigo dyeing class a few years ago with Kim Eichler-Messmer. It was such a good time I always intended to do more at home but never seemed to have time. Being stuck at home has this silver lining, among others - the time to experiment with crafts.

I used a simple indigo dye kit I found online. You can see the blue isn't as rich as a real indigo dye, but you might be able to adjust that by overdyeing the pieces or leaving them in longer than I did. The kit comes with a few rubber bands and pieces of wood, and I supplemented with clamps and some acrylic shapes of my own.

The circles in the dark piece were the result of small rubber bands tied around chickpeas, believe it or not.

My attempt at arashi (wrapping fabric with string around a rod of some kind) was interesting. A larger dowel would be better, as it would allow more surface area of the fabric to be exposed directly to the dye. This result reminds me of a Rorschach test.

This was a fun experiment. It's a little messy but a great project to do outside in the summer with kids, if yours have not yet reached the age that crafts with mom are no longer appealing.

To bring the whole project to the quarantine full circle, I plan to use a couple of the pieces to make face masks. A couple of the half yard pieces would be nice whole cloth table runners.

Friday, May 22, 2020

Solids Chevron Quilt

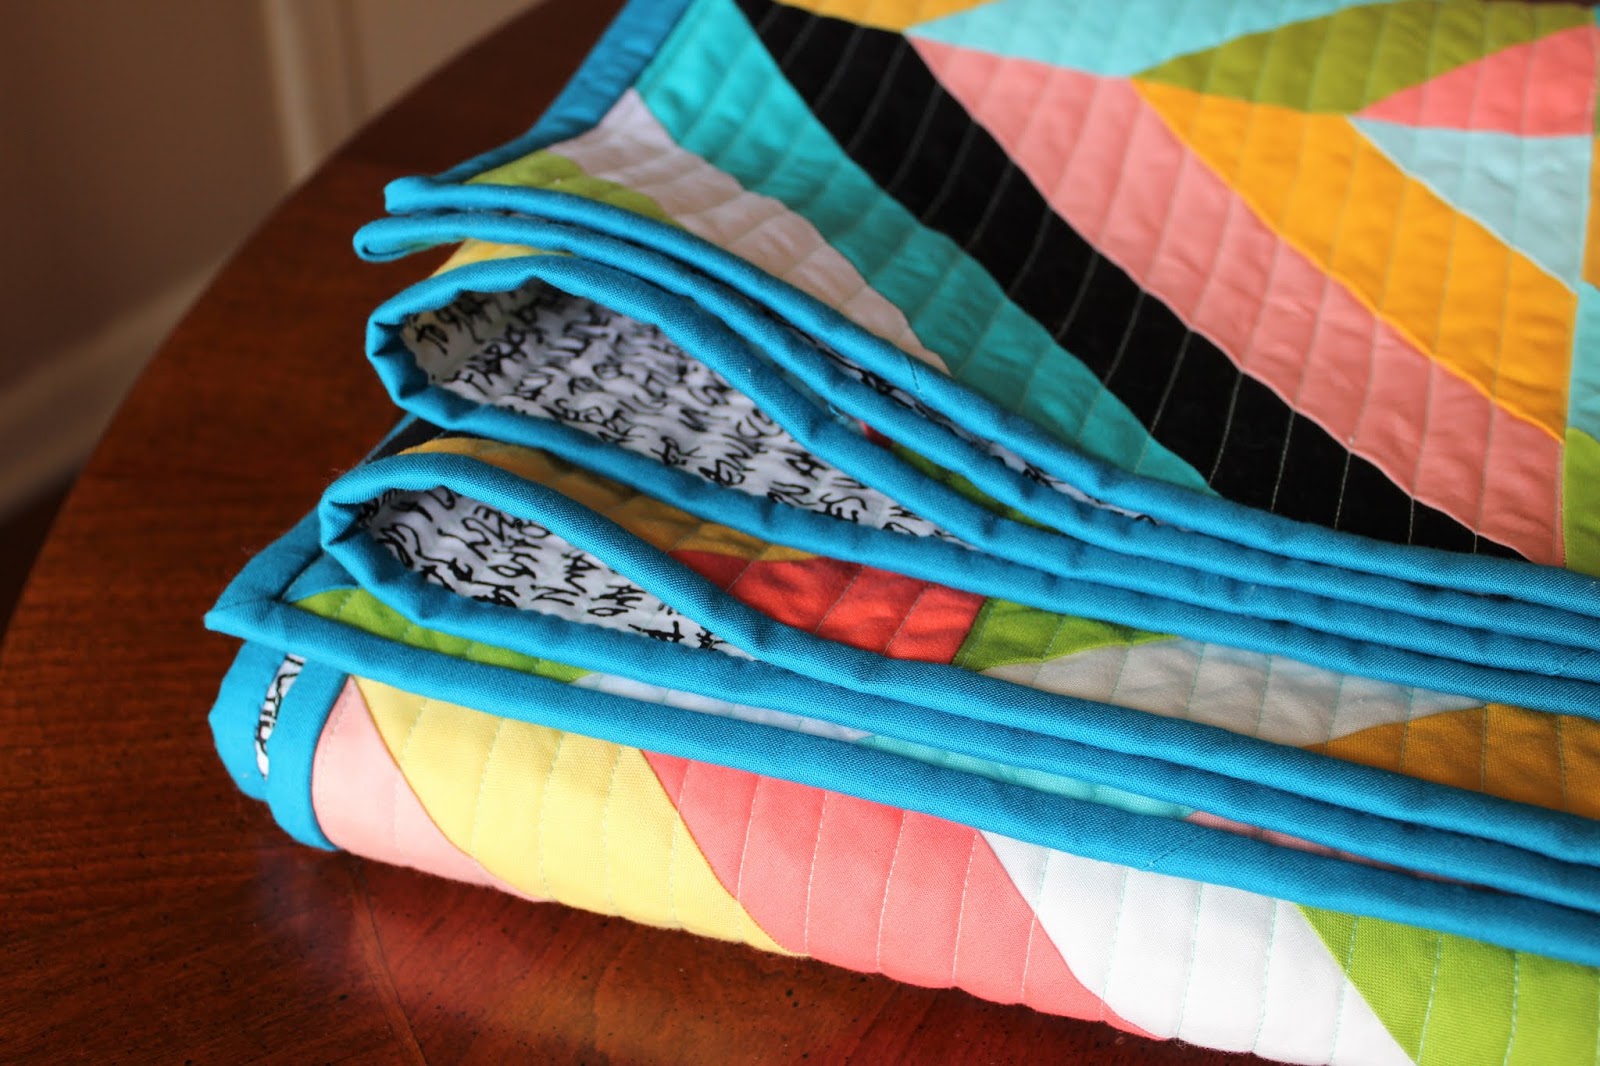
The colors in this throw-sized (54 x 65) quilt make me happy, and we all need some of that feeling right now. I also love how a quilt, made entirely of solids, turns into a quilt that reads like a print. To make the chevrons I used a paper template created by Molly of applecydermill for each block. Removing the papers was a pain, but the crisp neatness of the design is worth it, I think.

The Carolyn Friedlander black and white text backing is a nice contrast to the bold, colorful top. I chose my favorite turquoise solid for the binding. It is just the best color.


I used straight-line, horizontal quilting, spaced about every 1/2" in a pale aqua  50W Aurifil thread. It was a spool I happened to have on hand, and I was surprised at how nicely the color blended with the fabrics on the top. It even harmonizes with the back. Quilting this densely makes the quilt more durable, and I think the texture it adds is a huge pay off. This bright, modern quilt is in my etsy shop. 

Amazing to think this beauty started its life as a pile of scraps I just wanted to use up!

Wednesday, April 15, 2020

Solid Scraps - Chevron Blocks

I keep my scraps of solid colored fabrics in their own bin, and it is out of control. I pulled these to create a block I've had my eye on - a paper pieced chevron from Molly (applecydermill).
After my recent experience with indiscriminate scrap use, I limited my palette to a select number of colors which means that at 22 blocks in, I'm running out of scraps. But it is a good problem to have. I'll augment with stash fabrics to fill it out to throw size because the blocks look best in larger numbers.

Tuesday, March 10, 2020

Road Trip Redux, Finished Quilt

She's finished - lots of lessons learned making this one. I've shared my tips on value and things to keep in mind as you make your own Road Trip Redux.
This the smaller size, which finishes at 48 x 48.  I quilted it simply with the serpentine stitch on my Bernina. It creates a nice curvy texture with the ease of straight-line quilting.
The darker coral in the quilt doubles as the binding, which is a nice contrast with the sweetest light coral flannel backing, from Dear Stella's Shine Bright Flannel line. Flannel is just the best backing, especially for baby quilts. So soft.
I've listed the quilt in my etsy shop.

Thursday, February 13, 2020

Road Trip Redux Quilt, a Pattern Review

I first spotted the Road Trip Redux Quilt on Instagram, and I was struck by the design's potential to be manipulated by fabric placement. Each version of the quilt looks quite different. The quilt pattern is by Karen of Blooming Poppies and can be purchased through her etsy shop. (FYI, this is not a paid promotion. I bought my pattern and am offering a review so you can avoid some of the challenges, mostly of my own making, which I encountered piecing the quilt).
This clever quilt design is comprised of three simple blocks: flying geese, half square triangles, and diamond in a square. Depending on fabric placement, the possible variations of the quilt are infinite, which is the greatest strength of the design, in my opinion.  Keep in mind, you don't need to make changes. You could simply swap a new color for each one in the original, and make no further changes. But if you do decide to do more than substitute fabrics for the ones used in the pattern, which of course I did, you will need to take a few additional steps.
It may be obvious, but changing the fabric placement in the design will mean you will need to calculate your own fabric requirements and cutting instructions. To do this you will need to do some quilt math and figure out how many of each block you will need for each fabric. This is where I made my mistakes! The pattern is written in such a way that each of the three blocks is pieced in a specific way, using only squares of fabric. For example, the flying geese block is made using a single large square which will become the goose and four smaller squares which will become the outside triangles. That single center square and four outside squares will make four flying geese blocks. SO, when you calculate how many flying geese blocks you will need to cut from a certain fabric, keep in mind the square for the goose will make four blocks, not one. This will help you avoid overcutting, like I did.
The pattern also includes instructions for the diamond in a square block, as well as the half square triangle blocks. The construction of these blocks use squares differently, so pay attention, again, before calculating how many squares to cut. The half square triangle blocks are made from two squares of fabric to create  four triangles in two half square triangle blocks. The diamond in a square will use four squares to make four triangles on the outside of the block though. Just understand how each block is constructed before you do the quilt math, and you will be fine.
The pattern has several great features. It includes a blank coloring sheet of the design, so you can play around with fabric and color placement. I colored several versions before I settled on my design. This will allow you to mock up your quilt easily. The instructions also include nice illustrations for construction of the blocks, and there is little waste in the method. Another asset of the pattern is that it includes cutting dimensions to make the quilt in two sizes using the same instructions - a baby or throw size.

Check out the hashtag #roadtripreduxquilt to see various versions of the quilt for inspiration. I'm waiting for backing to arrive so I get start finishing this cute baby size quilt.